

They make it easy to target specific groups within your campaigns — for example, “Contacts in California” or “Credit card customers with low engagement.”
Viewing Segments
The Segments tab shows all defined segments and includes:
Use the Search or Filter List tools to locate specific segments, or click Add Contact Segment to create a new one.
Creating a New Segment
Click Add Contact Segment to define a new audience group.
Press Shift + Enter to view all available variables from your connected data source.
Once saved, your new segment appears in the list, and TruAgents automatically evaluates which contacts match the criteria.
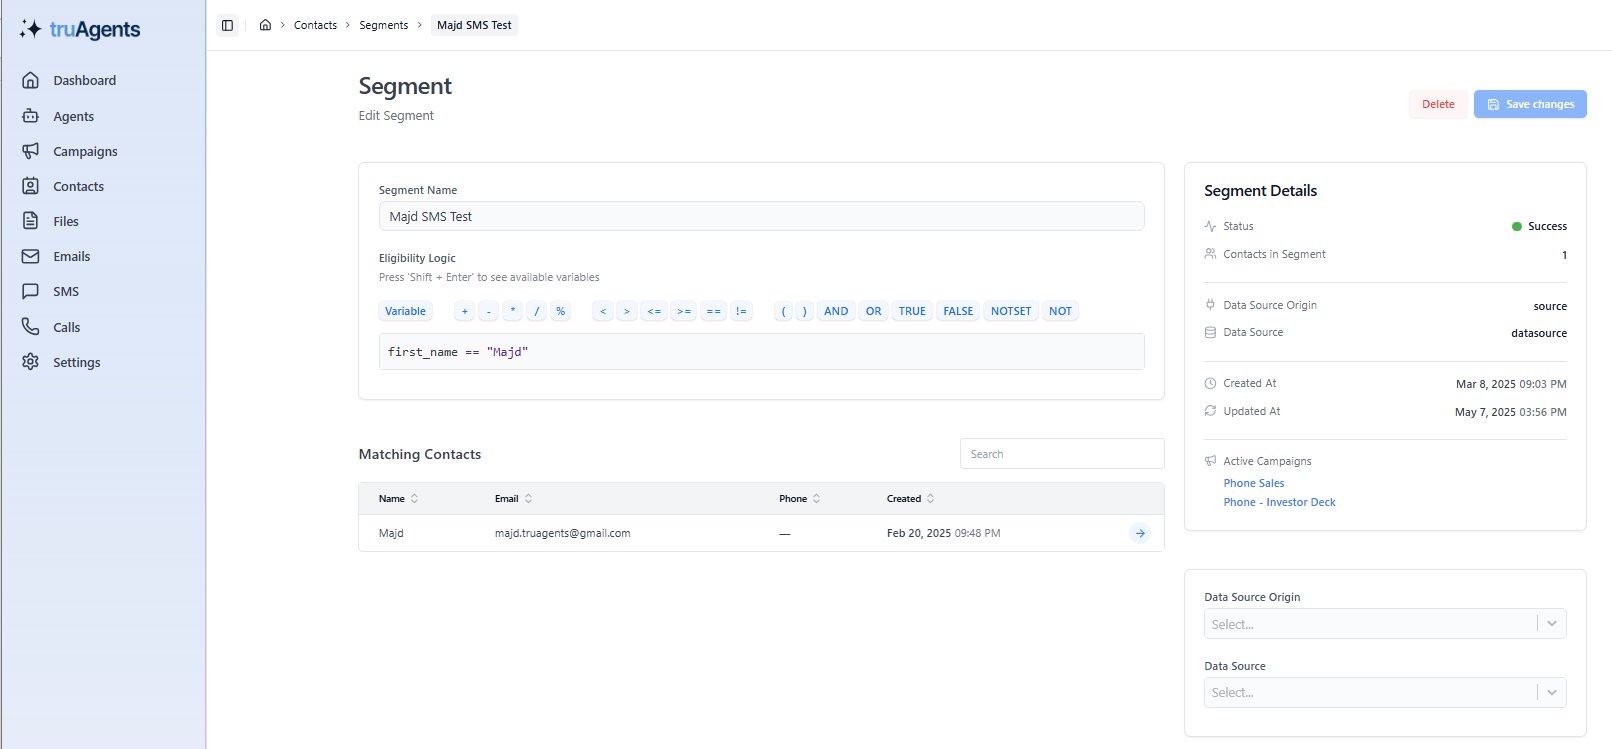
Editing a Segment
When editing an existing segment, you can:- Update its Eligibility Logic
- Change its Data Source
- See Matching Contacts that fit the criteria
- View Segment Details, such as creation date, status, and active campaigns using the segment
Segment Nuances / Warnings:
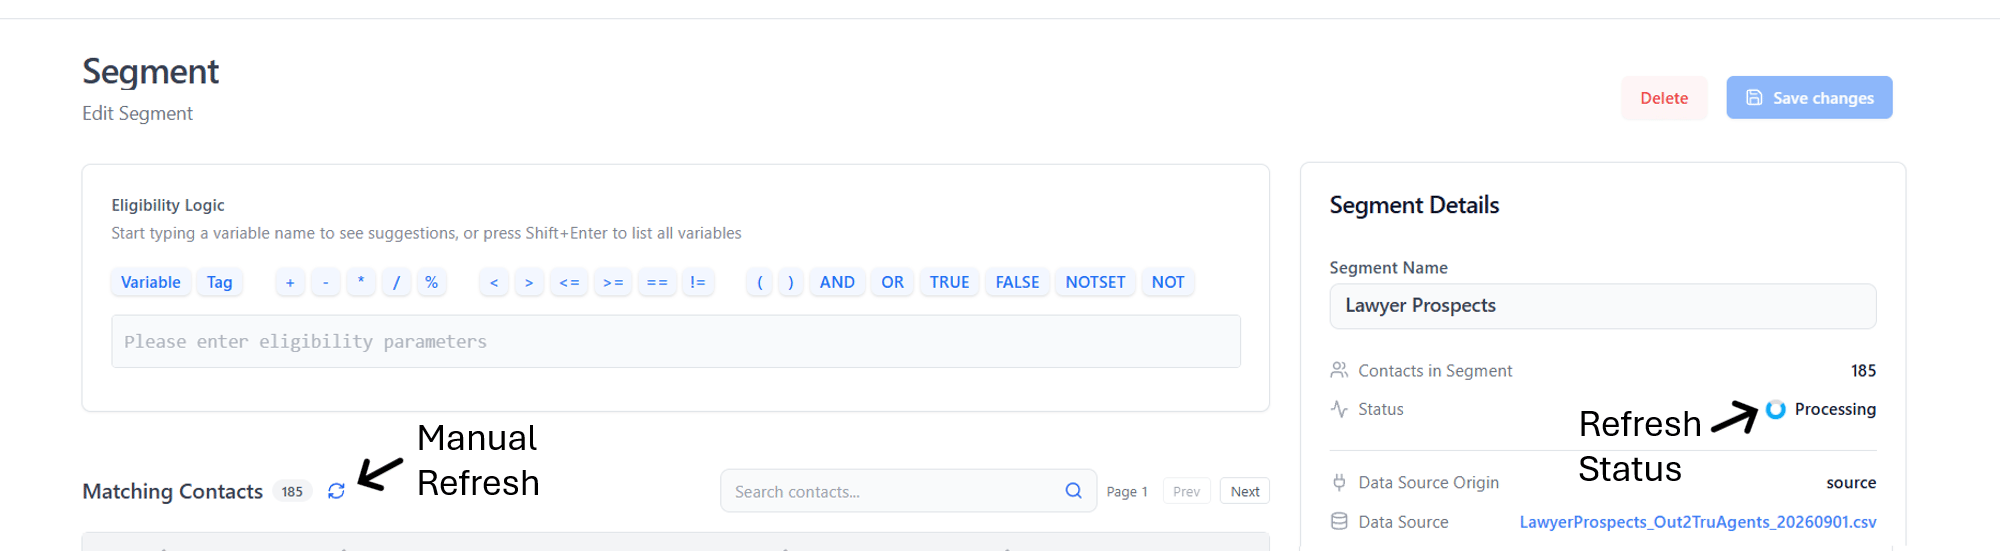
There are two key mechanics to understand:- Calculated when the segment is saved
- Not automatically refreshed when underlying data changes
- You can use the “refresh” button to force the system to update the counts (processing may take a few seconds - you can see this in the refresh status section)
- When a campaign runs, TruAgents evaluates the segment in real time
- Uses current contact data, not the cached count
- UI shows X contacts
- Campaign sends to Y contacts
Data Source-Based Segments: Key Behavior Each file upload creates a new versioned data source (
datasource_id).
- Contacts always store the most recent
datasource_id - If a contact is updated later, its original data source link is overwritten
Common Scenarios when defining Segments by Datasource
Best Practice (Strongly Recommended)
❌ Avoid:
- Segments defined only by data source
- Segments defined by stable contact attributes, such as:
- Employer
- Eligibility flags
- Product ownership
- Custom fields
- Attributes persist across updates
- Segments remain stable over time
- No mismatch between UI counts and campaign sends